Hey there, DIY enthusiasts! Ever wondered what’s causing those annoying dry air bubbles to pop up on your ceilings? It’s like your home is playing host to a bubble wrap party you didn’t sign up for. Well, worry not! In this guide, we’re diving deep into the reasons behind these pesky bubbles and, more importantly, how you can show them the door.
Let’s Get to Know These Bubbles
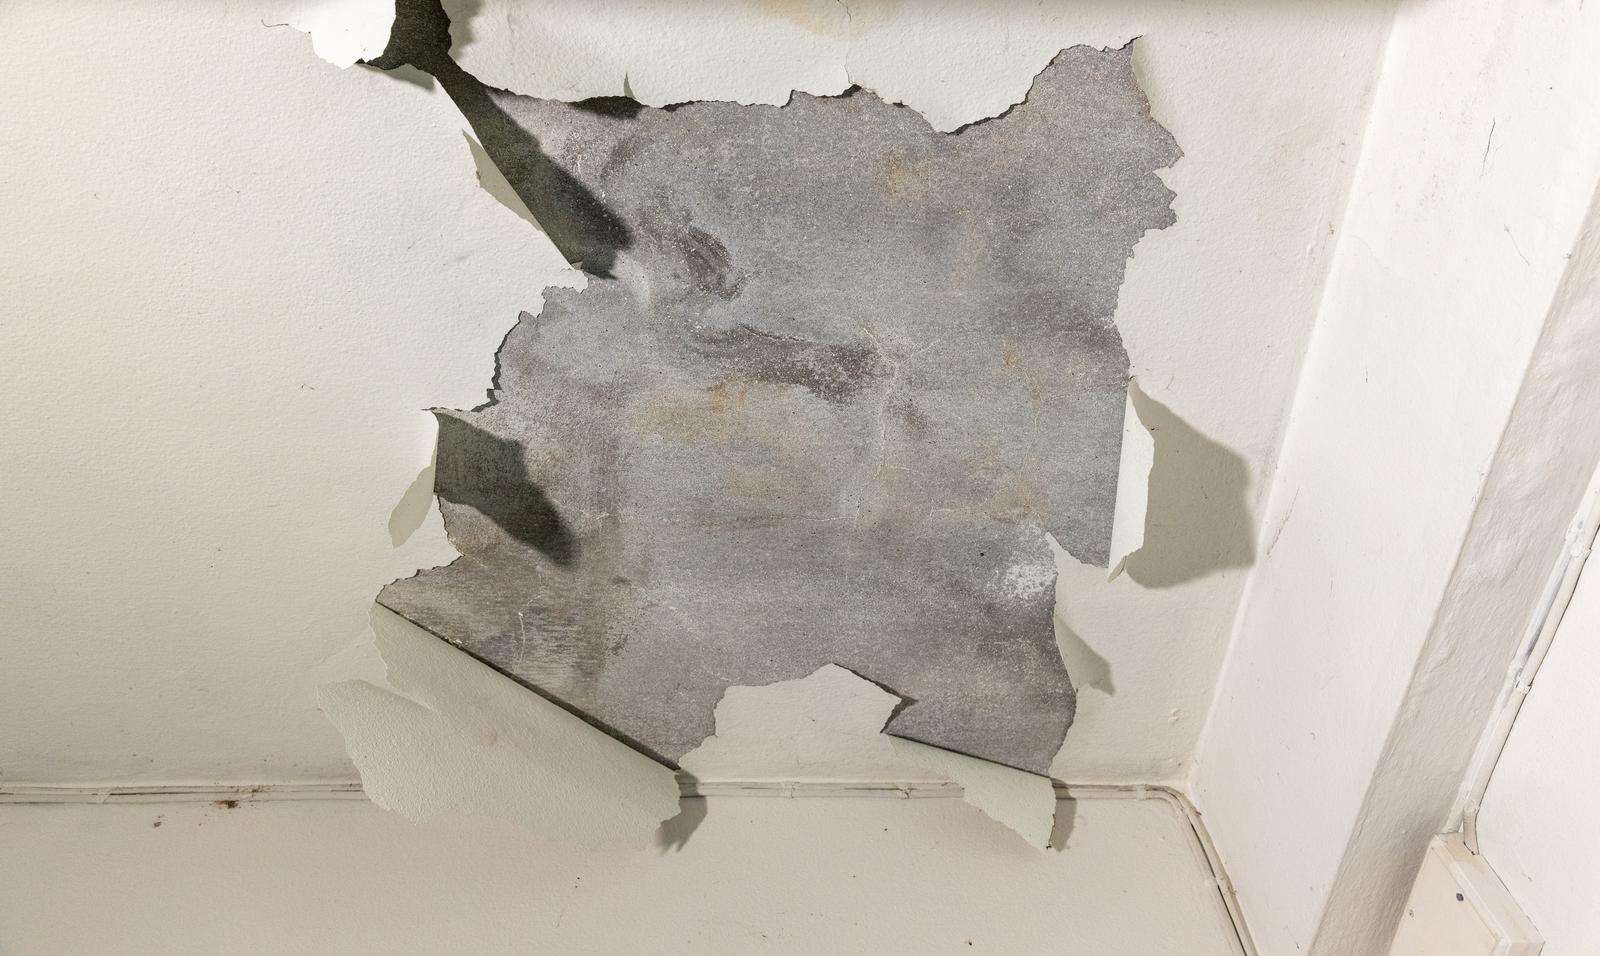
So, you’ve got these dry air bubbles causing chaos on your ceilings, and you’re left scratching your head. First things first, let’s understand what’s going on. These bubbles are like tiny rebellions, happening when your paint or drywall finish decides to part ways with the surface, creating those unsightly bumps. Now, let’s break down the whys and hows.
Blame the Paint (Sometimes)
Ever thought about the quality of your paint job? If your paint is of the low-budget variety or if you were channeling your inner Jackson Pollock during application, that could be the culprit. Opt for top-notch paint that suits your surface, and please, let’s paint like we mean it – no more abstract masterpieces on the ceiling!
Moisture – The Uninvited Guest
Moisture loves to crash parties, especially those on your ceilings. Leaky roofs, plumbing gone rogue, or just too much humidity can bring unwanted moisture, causing your paint to throw a tantrum. Finding and fixing these moisture sources is key to keeping your ceilings bubble-free.
Temperature Shenanigans
Ceilings near heaters or in poorly insulated areas might be going through some serious mood swings. Drastic temperature changes can lead to the paint and ceiling doing the tango, eventually creating those bubbles. Make sure your ceilings have a stable environment; they’re not fans of surprises.
Prep Work Matters
Okay, let’s be real – who enjoys prep work? But trust me, a little surface preparation goes a long way. If you skipped cleaning, sanding, or priming before your painting escapade, you might have set the stage for these bubbles. Take the time to prep, and your ceilings will thank you.
How to Keep Bubbles at Bay
Now that we’ve decoded the mystery behind these bubbles, let’s talk prevention. How can you keep your ceilings bubble-free and looking like a million bucks?
Pick the Right Paint, Seriously
It’s not just about color; it’s about quality. Choose a paint that’s made for your specific surface and can handle the conditions. Moisture-resistant paints are like superheroes for your ceilings – they’ve got your back.
Let Your Home Breathe
Proper ventilation is like giving your home a breath of fresh air. Make sure areas prone to moisture, like the bathroom and kitchen, have the airflow they need. Exhaust fans and dehumidifiers can be your trusty sidekicks in this mission.
Moisture Be Gone
Don’t let moisture linger – it’s a party crasher. Regularly check your roof for leaks, inspect your plumbing for any water mischief, and keep an eye on indoor humidity levels. Nip moisture issues in the bud, and those bubbles won’t stand a chance.
Paint Like a Pro
You don’t have to be Michelangelo, but following some basic painting rules can make a world of difference. Clean the surface, sand if required, and don’t forget the primer. Consider the weather when you paint – your ceilings deserve a stress-free drying experience.
Now, armed with these easygoing tips, you can tackle those dry air bubbles head-on and reclaim your ceilings. Remember, a little care goes a long way in keeping your home happy and bubble-free! 🎨✨
FAQs – Your Burning Questions Answered
Why do bubbles appear only in certain areas of my ceiling? Bubbles can be selective – blame it on moisture, temperature variations, or even that one questionable paint can hiding in the corner. Address the specific issue in each area to keep bubbles at bay.
Can I just pop the bubbles and call it a day? While it might be tempting, popping bubbles won’t solve the underlying issue. You need to address the root cause – whether it’s moisture, poor paint quality, or something else.
How do I know if the paint I’m using is high quality? Look for reputable paint brands and check for terms like “moisture-resistant” or “high adhesion” on the label. Reading reviews from fellow DIYers is also a great way to gauge paint quality.
What’s the ideal indoor humidity level to prevent bubbles? Aim for indoor humidity levels between 40% and 60%. Invest in a hygrometer to keep tabs on the moisture content in your home.
Can I fix the bubbles myself, or do I need a professional? If you’re confident in your DIY skills and have identified the cause, you can attempt to fix small areas. However, for extensive or recurring issues, consulting a professional might be the best bet.
How long should I wait between coats of paint to prevent bubbles? Follow the recommended drying time mentioned on the paint can. Rushing between coats can compromise the paint’s adhesion and lead to bubbling.
What’s the best way to clean and prep the ceiling before painting? Clean the surface with a mild detergent, remove any stains, and sand to create a smooth surface. Use a primer to ensure proper adhesion before applying the final coat.
Does the type of roller or brush I use affect the likelihood of bubbles? Absolutely! Using the right tools is crucial. Consult the paint manufacturer’s recommendations for the appropriate rollers or brushes for the type of paint you’re using.
Can I paint over existing bubbles, or do I need to strip the entire ceiling? Painting over bubbles won’t solve the problem. You need to strip away the affected areas, address the root cause, and then repaint for a lasting solution.
With these tips, expert insights, and real-life stories, you’re armed and ready to take on the battle against dry air bubbles on your ceilings. Happy painting!


